Hello everyone! Today I am going to walk you through the process of reupholstering a desk chair. This is not my first rodeo, but that doesn’t mean it became any easier. When I first decorated my craft room, I decided to go for a very subtle combination of bright fuchsia and turquoise. The chair I had at the time was tinker bell green (yes, I call it that way, don’t judge) and that was not cute. So I decided to bedazzled the chair with the color combination you see in the before picture.
The room stayed like that for about two years until I grew tired of that color scheme and decided to change it. Now I am obsessed with the combination of mint and gold, so I decided to redo my whole craft room. Fun! So, it was time to change that pink/blue fabric for something more subtle that matched my new decor. Now I’m going to show you the process.
WHAT DO YOU NEED?
1.5 yards of your favorite fabric (depending on the size of your chair)
Fabric Scissors or a Rotary Cutting Tool (my favorite choice for cutting fabric)
staple gun ( I used my Ryobi Crown Stapler and it worked great!, but the first time I used an economic electric staple gun and it worked just fine)
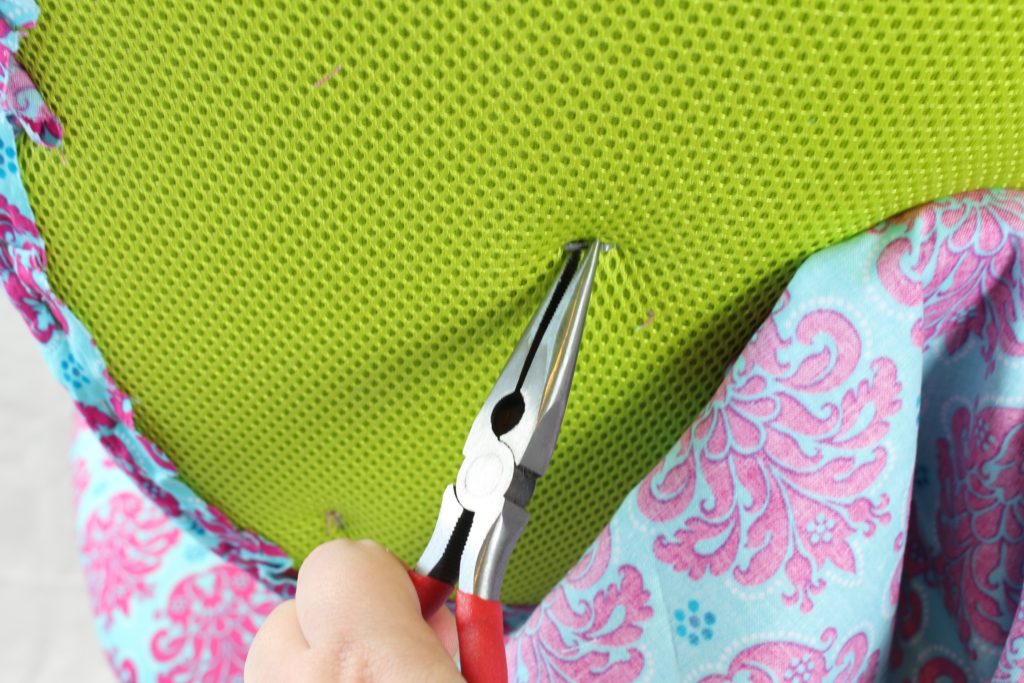
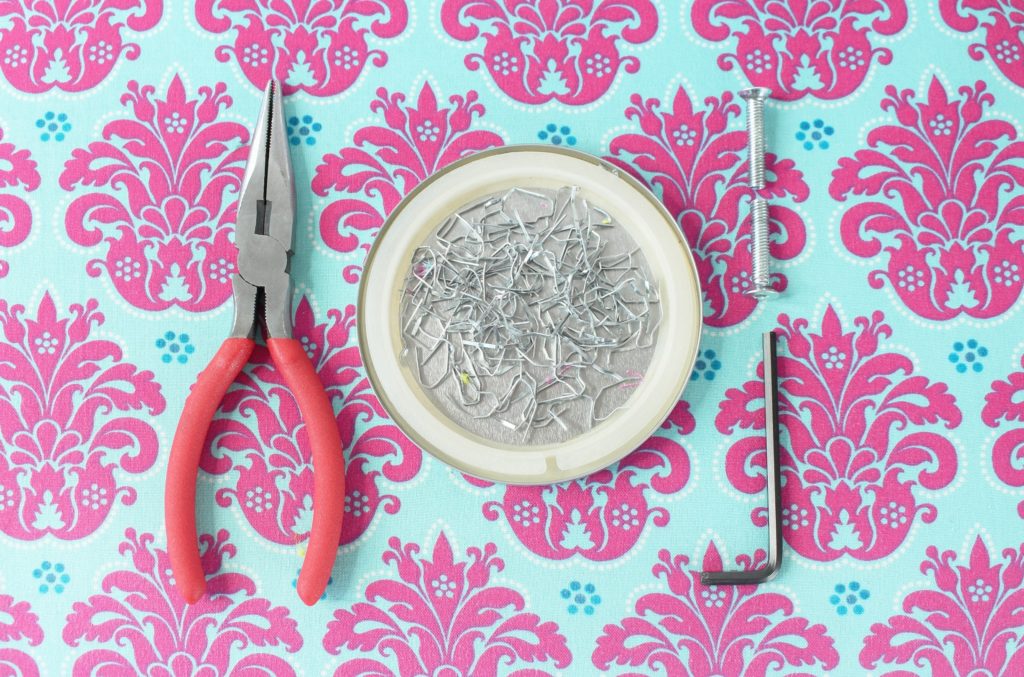
The first step was to take off the fabric that I had previously used to cover the hideous green. That took a lot of time and work. You see, my last time reupholstering this chair was my first time using a staple gun and I got trigger happy. That thing had A LOT of staples that had to be pulled out one by one with pliers. In the picture below you can see the staples I pulled out of the back support. That’s only half of them!
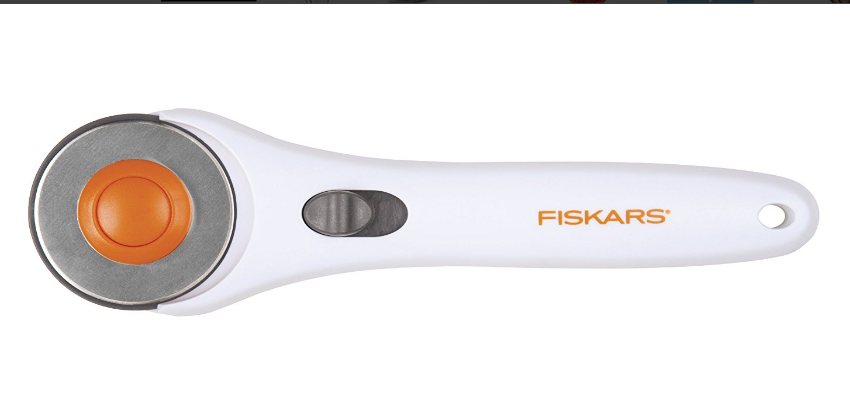
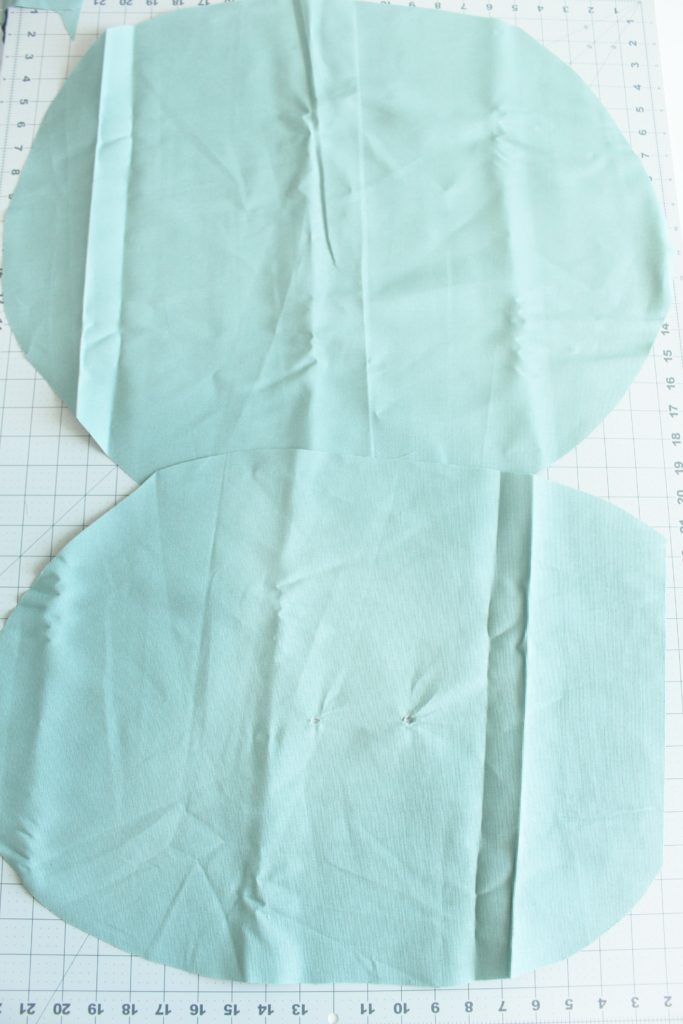
Once I removed all the staples and the chair hardware that was in the way, I was ready to cut my new beautiful fabric. I used the pieces of fabric I removed for reference before cutting, but if you are doing this for the first time just use your chair to trace silhouettes. You want to make sure that you leave at least two inches all around to have enough clearance. You can totally cut this with Fabric Scissors, but I got to tell you, there is a magical little tool that makes cutting anything a breeze. It is hard for me to cut straight with scissors (again, no judgement 😉 ) and hated anything sewing related because I always made a mess. That was until I found the little beauty you see below. It’s called a rotary cutter and, when used with a straight acrylic ruler, cuts perfect straight lines. [Make sure you use a self healing cutting mat to protect your work surfaces. You can find a rotary cutter set here.]
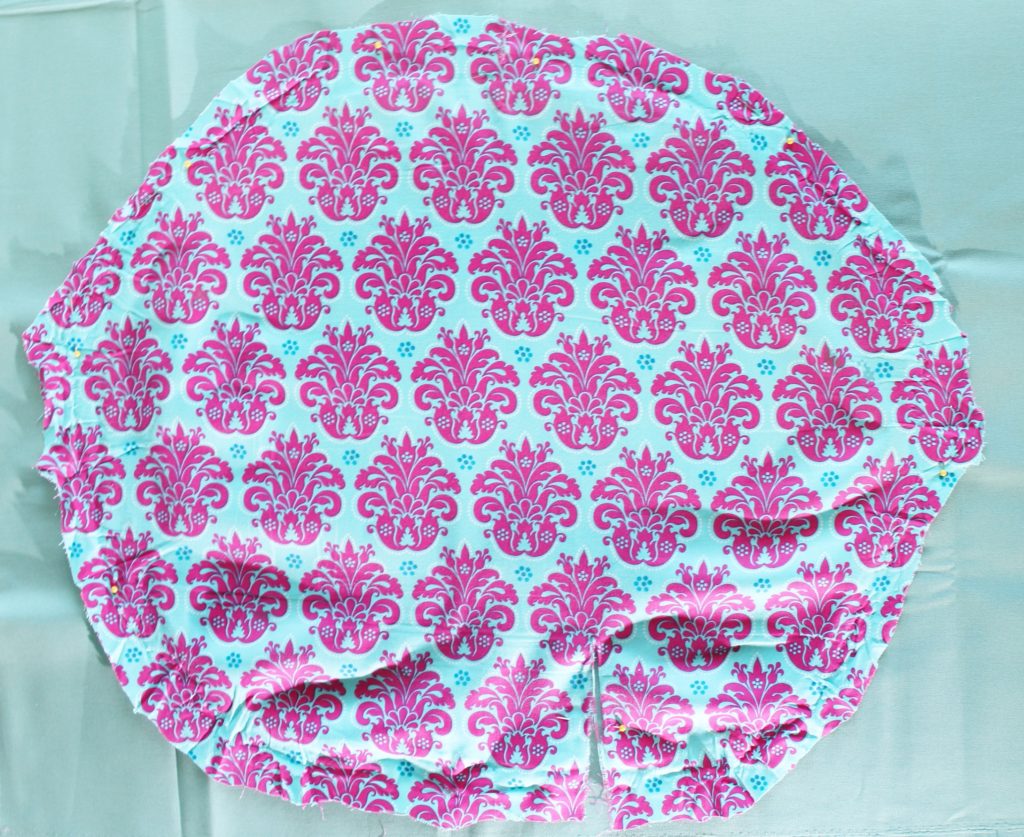
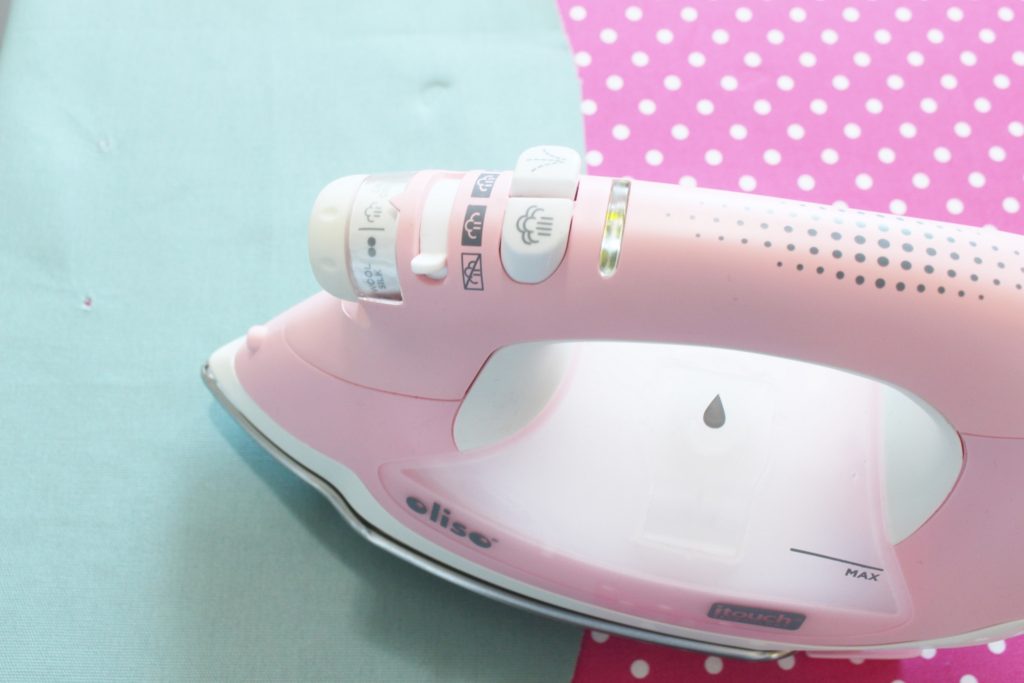
After you cut your pieces, you might want to iron them. Mine were pretty rough so I used my beautiful Oliso iron to make them super smooth before I started stapling.
Now, use your stapler to start pinning the fabric to the back of the backrest. I started with one staple on the top, one at the bottom and one on each side. Then, I worked my way around, making sure I was stretching the fabric to prevent any creases on the front of the chair. Here’s a close up look and how it looked after I finished the first segment of the backrest.
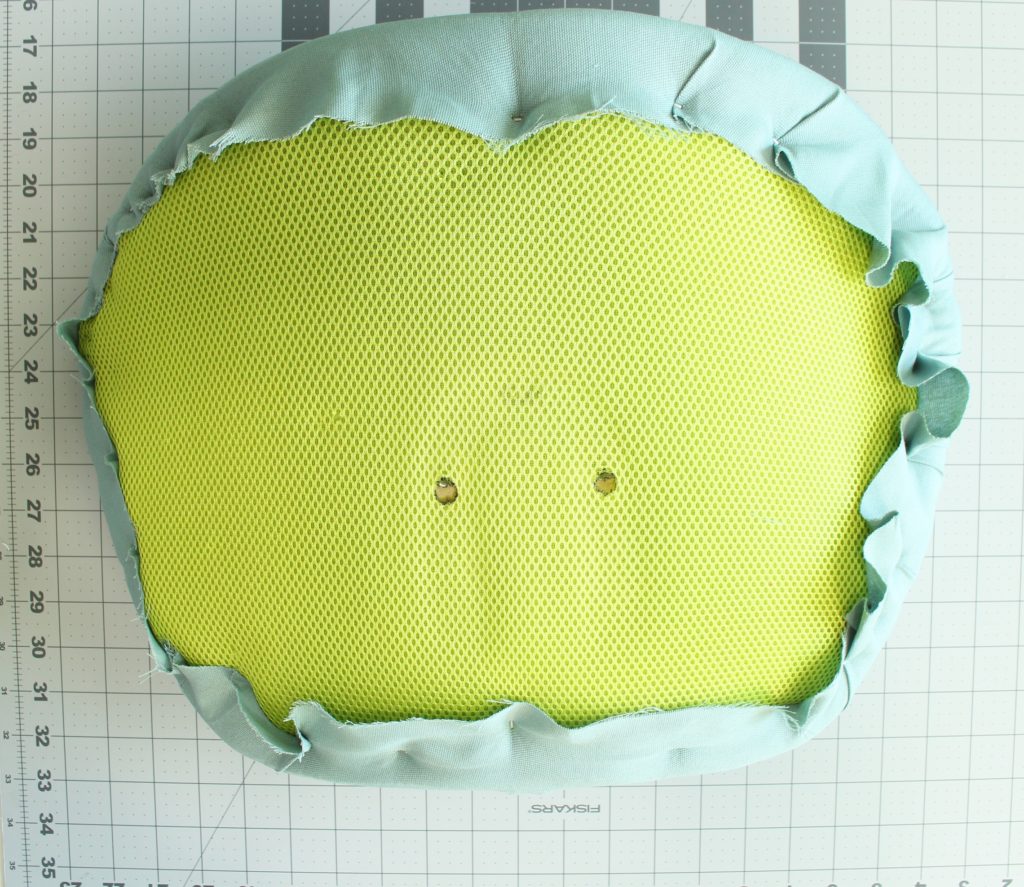
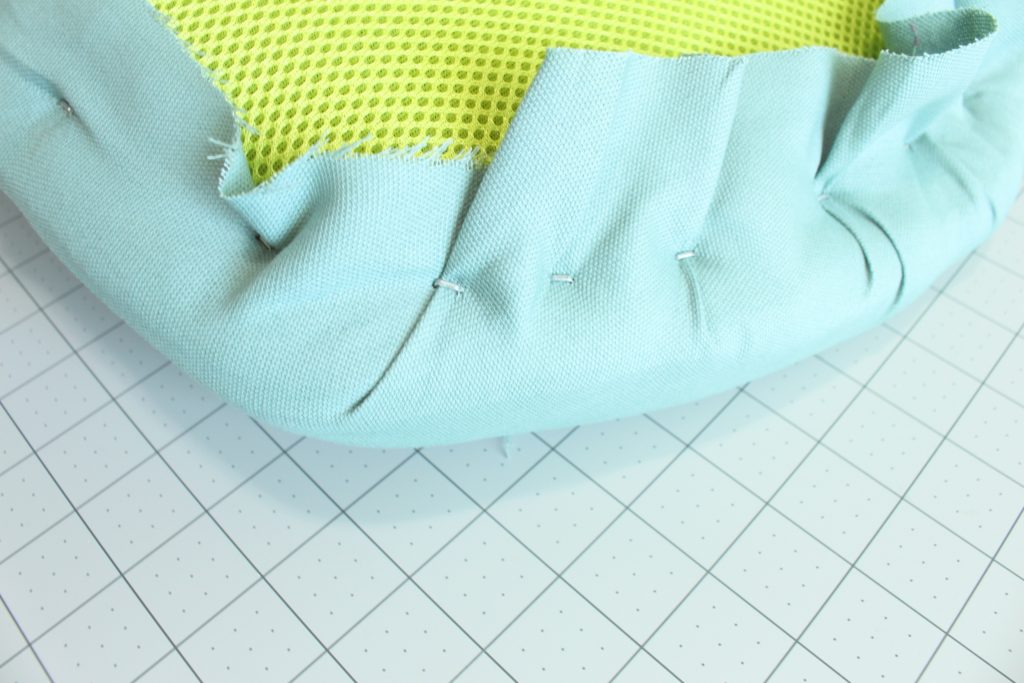
Look how pretty it looks on the front side already!
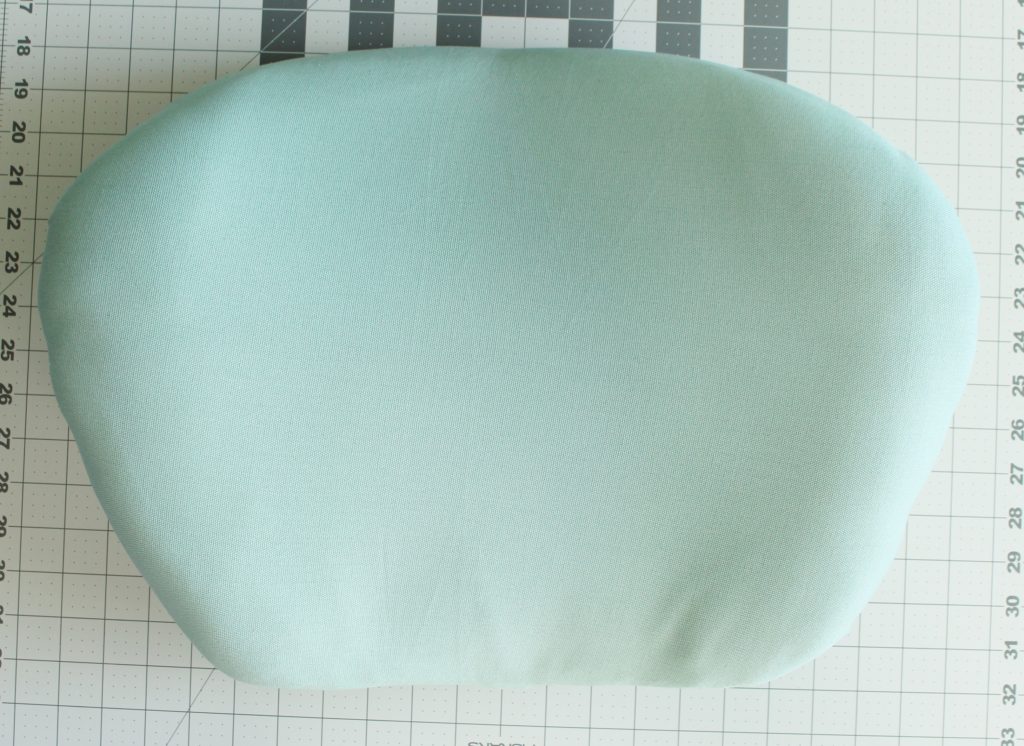
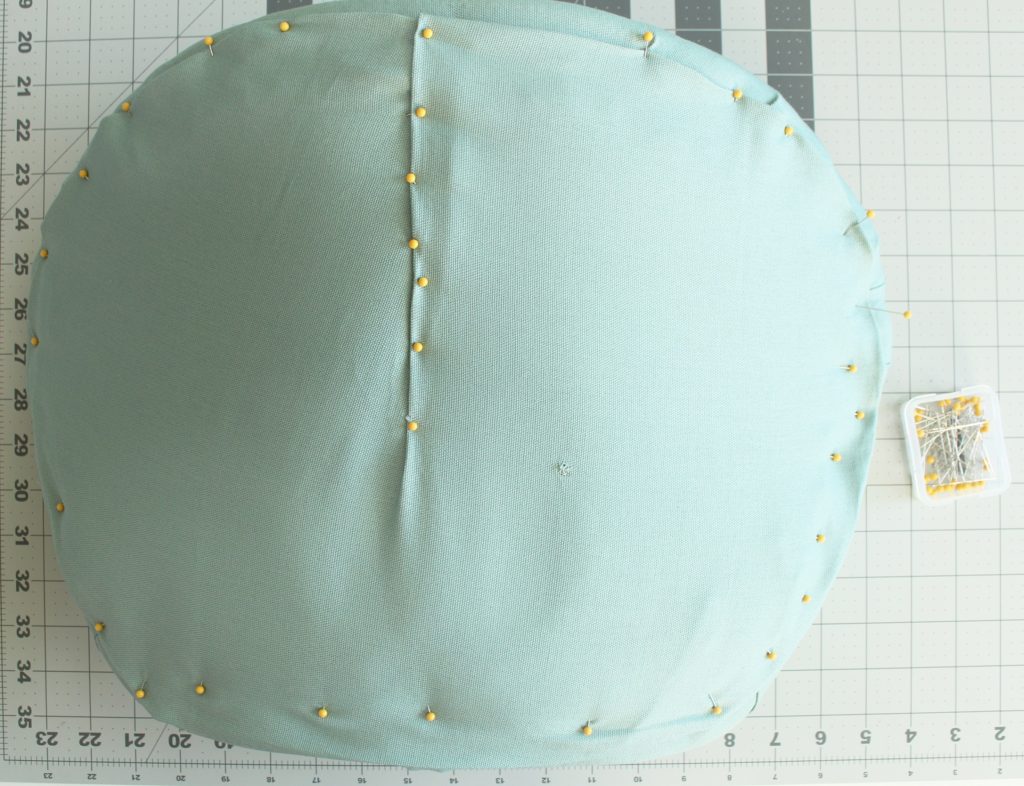
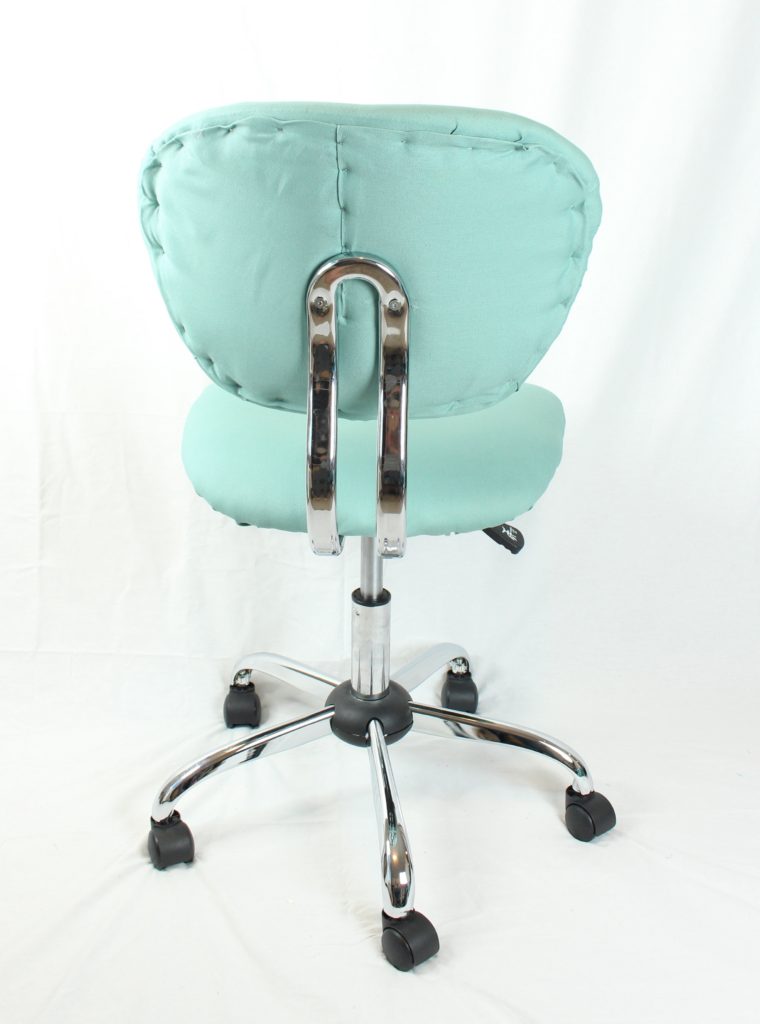
The next step is to cover the back part of the backrest. I started by folding the edges of the fabric and pinning everything in place and then I stapled in between the pins. Make sure that you cut holes in the fabric where the hardware screws go so you can assemble back together.
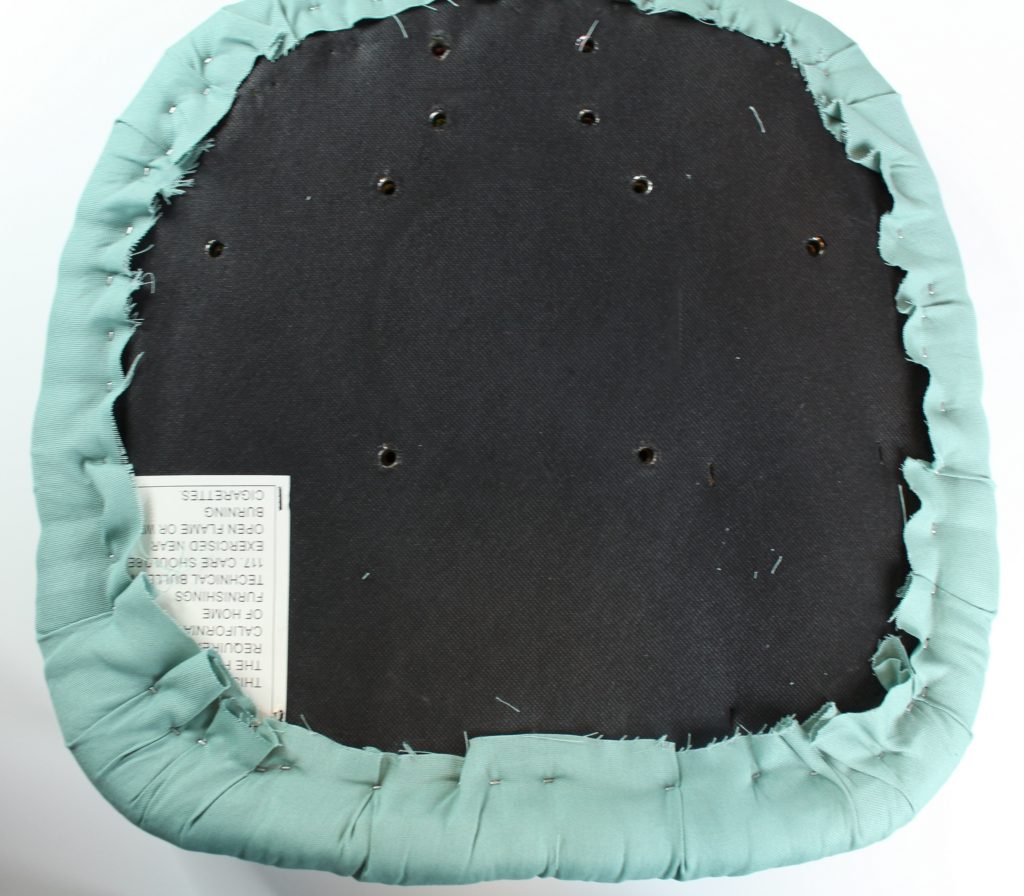
After this, you repeat the first step with the sitting cushion. Since this part is facing the floor, you can leave it like this without the fabric cover like I did. If you do decide to cover the bottom part, remember to cut out holes for all the screws. Here is how the mine ended up looking.
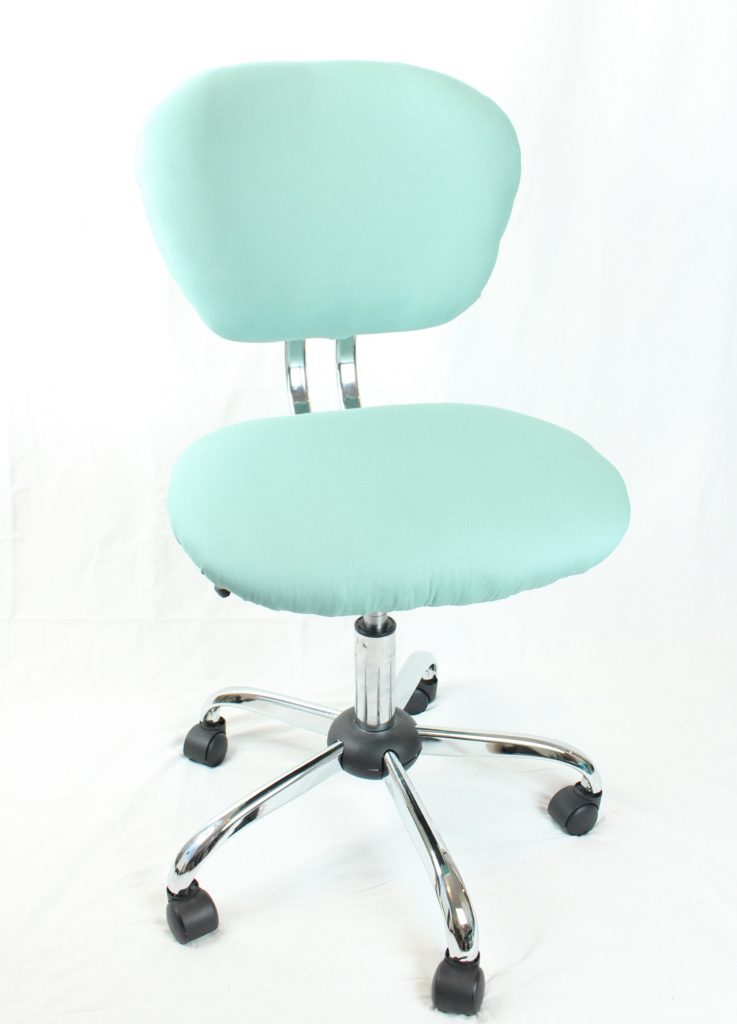
Assemble your chair back together and admire your hard work! I love the finished product! The back is not perfect, but I am really satisfied with how it looks and the color is perfect!!
If you decided to tackle a reupholstering job this weekend, make sure to share your before and after pictures in the comment section. I would love to see your masterpieces!!
-M