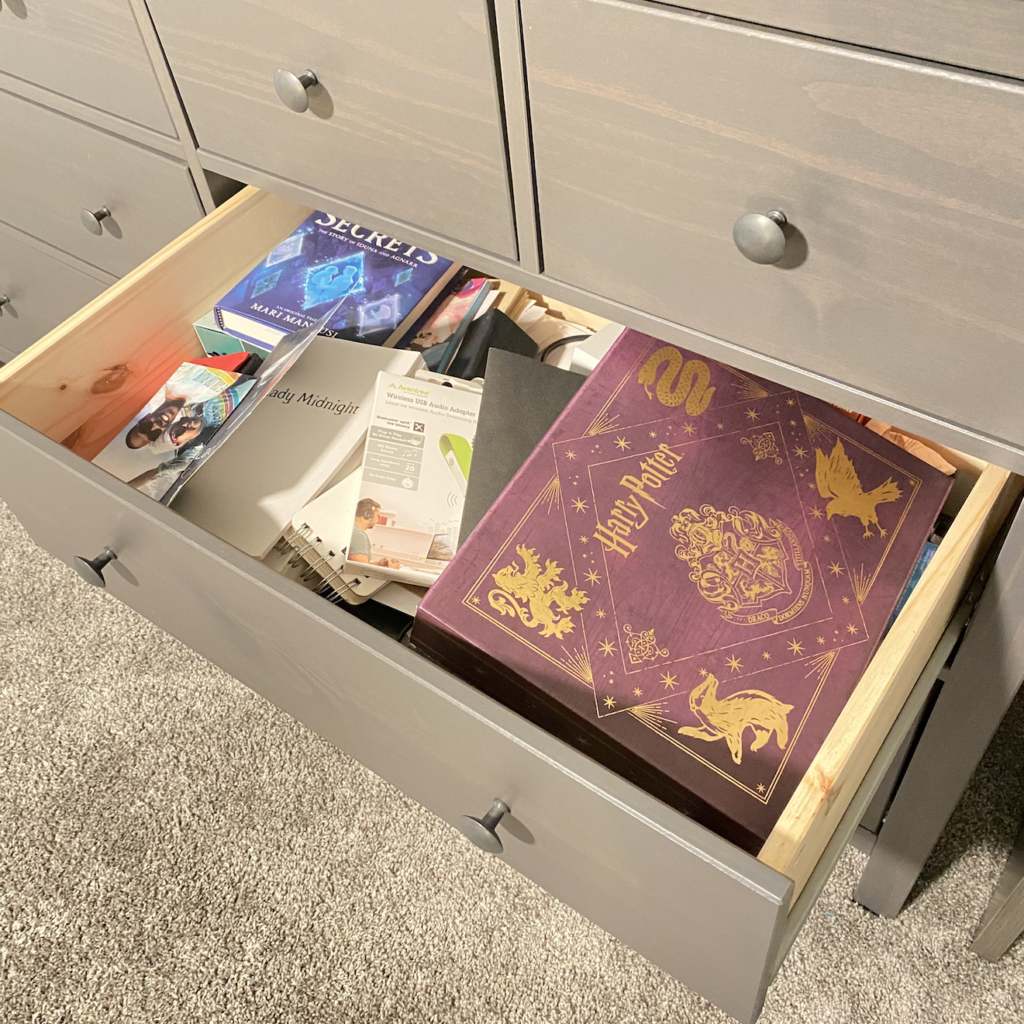
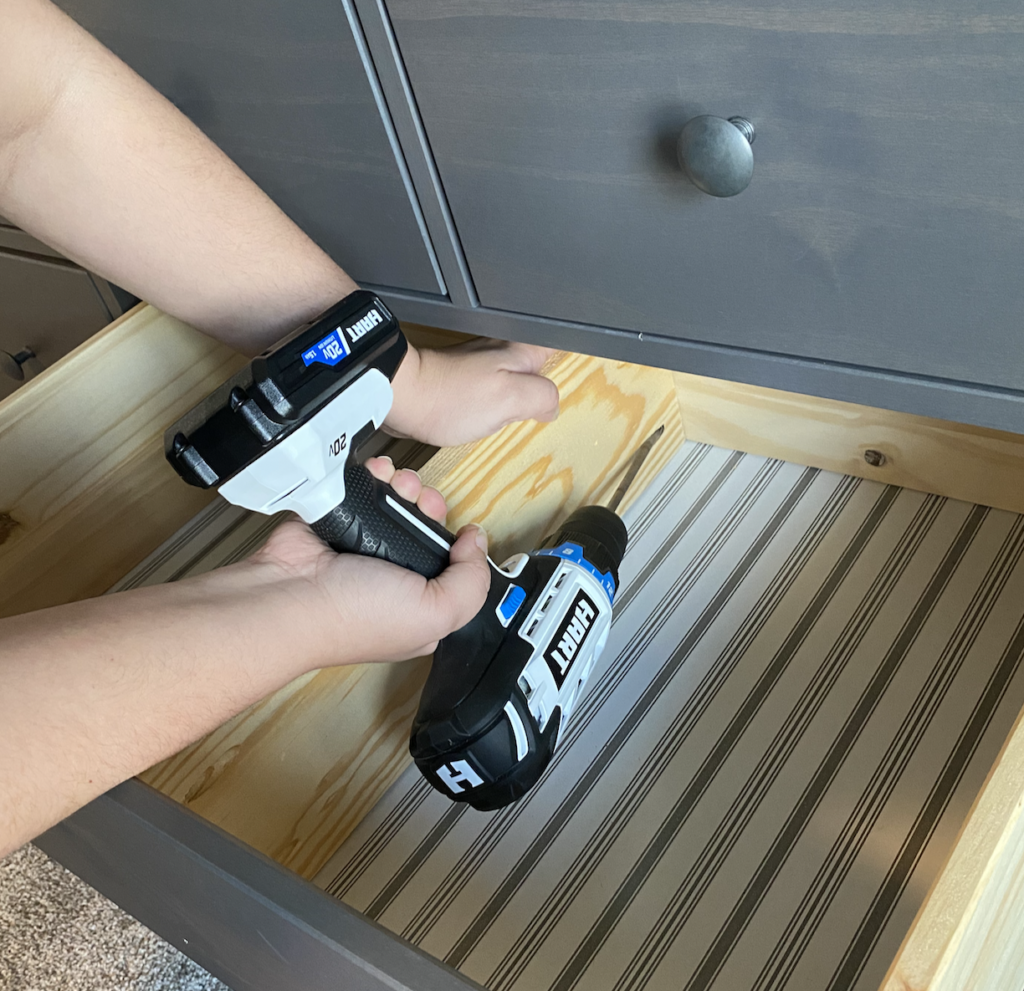
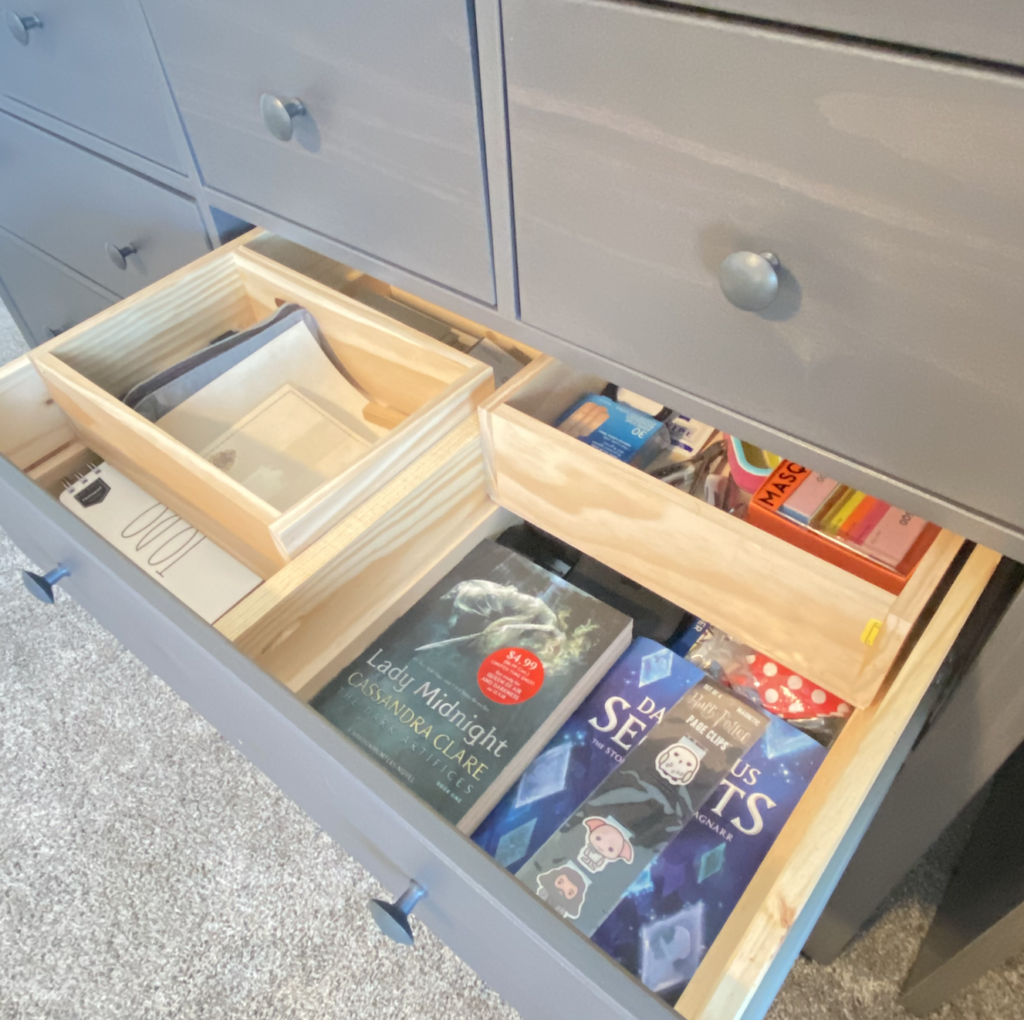
Most people have a junk drawer in their house. I have plenty of them. I really wanted to organize this drawer I have in my room that’s dedicated to the books I’m currently reading, planners, stationary and electronics cables. Since my drawers are really deep, everything gets piled up in the drawer and it becomes a black hole. Look at the picture below and understand my struggle trying to find a book or a pen in a hurry. This project is an easy beginner project that can be completed in a day with just a few tools. I was able to cut all my parts with my Hart 20V Cordless Jigsaw and used my Hart 20V Cordless Drill/Driver for the assembly process.
The first step is to measure the inside of your drawers. You should cut all your dividers (blue) and supports (green) true to size. This will allowed you to squeeze them in place without having to add additional screws or glue. I love having the flexibility of changing the configuration of the drawer in the future if my needs change. The supports for the top drawers (green) were exactly 17″ long and I push them into place with a soft mallet.
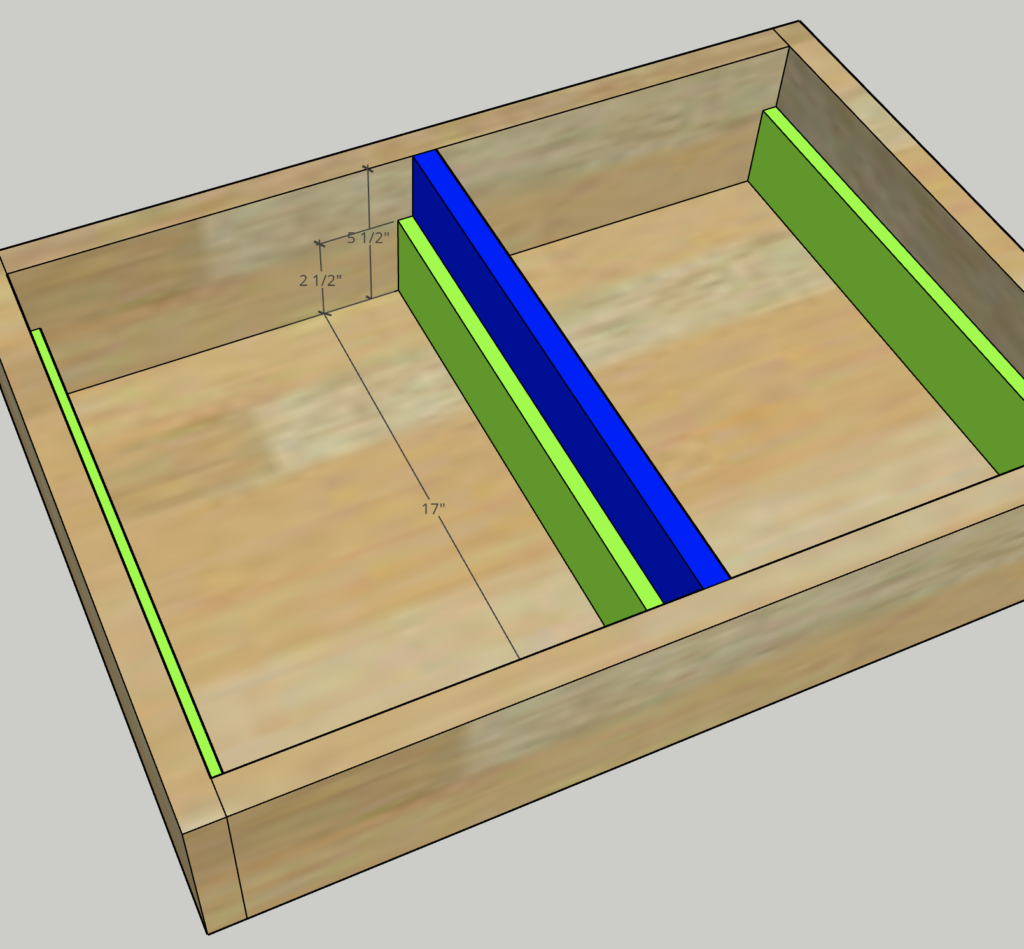
For the middle divider, I use a a 1″ x 6″ cut at the same length as my supports (17″) but I added a couple of pocket holes on each side. This will ensure that the whole setup is super sturdy. Again, I didn’t use glue because I wanted to have the option of removing the dividers in the future if I wanted to. Be careful when drilling into the face of your drawer so that you don’t go through the front. (experience talking!)
Now let’s build the top drawer sliders. I made these super simple and attached all sides and the bottom together using 1″ brad nails and wood glue. When determining the width of your drawer slider, measure the inside of your division and subtract 1/4″ to allow for clearance at both sides.
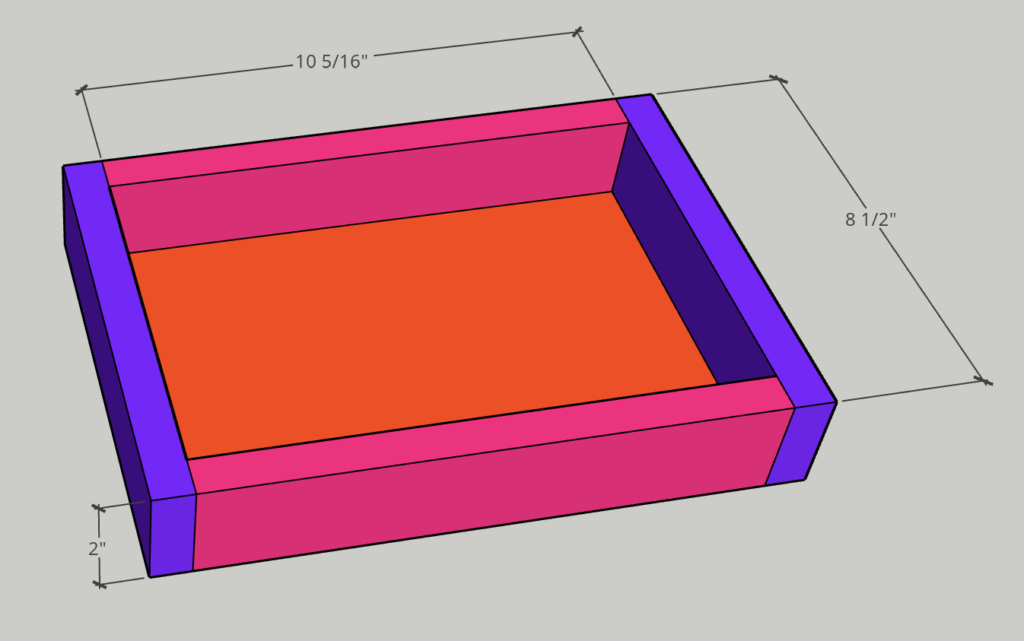
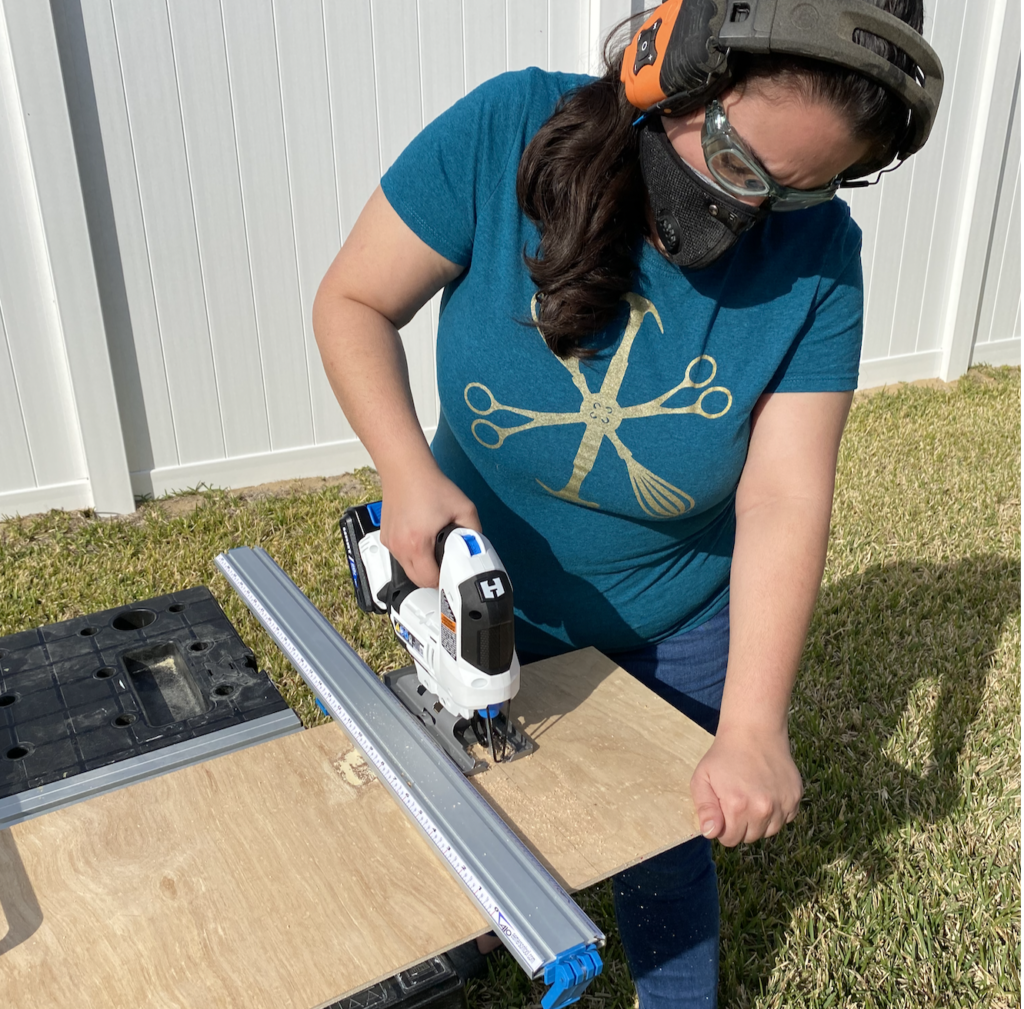
For the bottom of the drawer slider, I used a piece of 1/8″ plywood that I cut to size using my Hart 20V Cordless Jigsaw and a 24″ Straight Edge Guide to help me keep a straight edge.
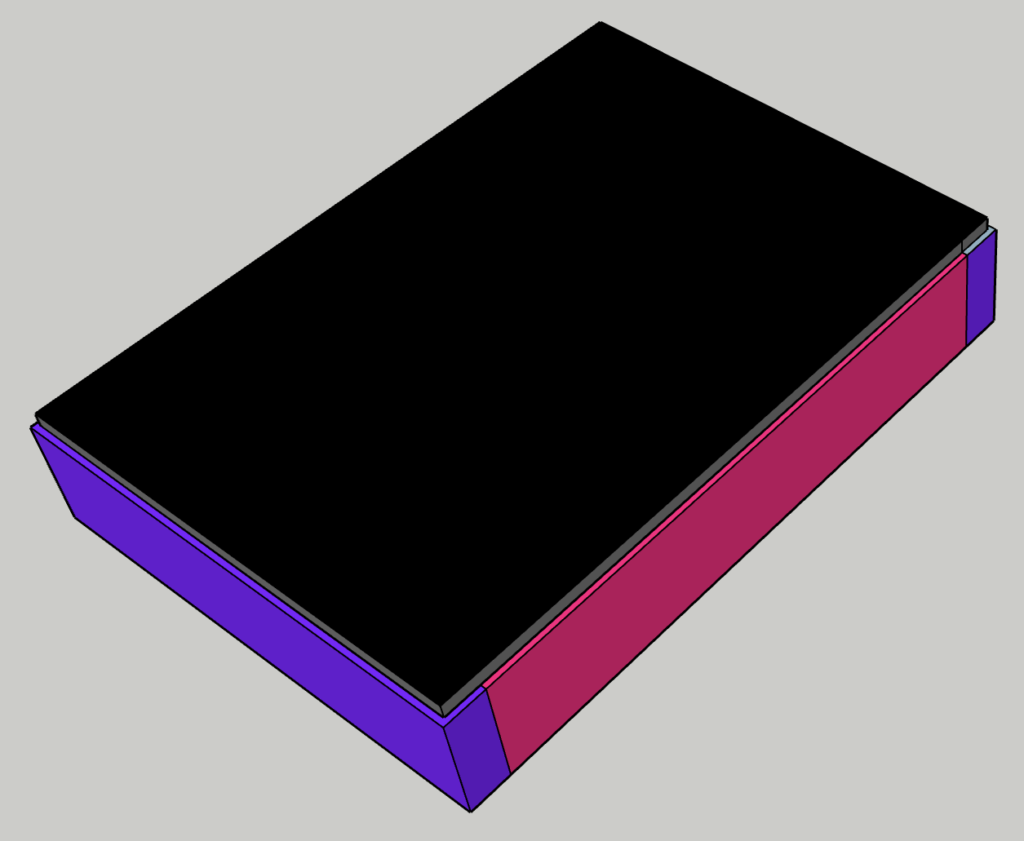
I attached the bottom to the drawer slider frame using 3/4″ brad nails and wood glue.
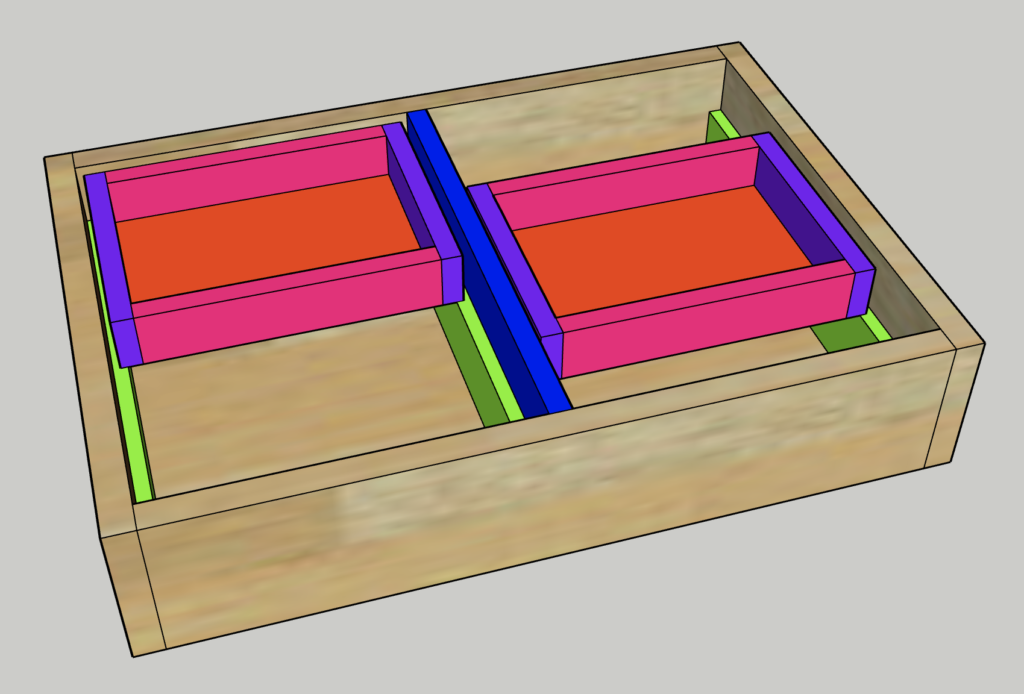
Then, place it on top of the support and now you have a 2-Tier organizer for your drawer! Make sure you double check your measurements for each side as they may be slightly different. I love how everything is visible and accessible and I can fit more stuff in my drawers. This system would also work great for your socks drawer.
If you decide to build this system for your junk drawer make sure you tag me @aquangold on social media and I’ll share your projects.
-M.
**This project was sponsored by Hart Tools USA. Although I am a brand ambassador for Hart Tools USA, all ideas and opinions are my own.
***Note: This post may contain affiliate links. By clicking on them and purchasing products through my links, I receive a small commission to no additional cost to you. Thanks for supporting aqua-n-gold!